I had so much fun making Ruby’s birthday doll and love all the questions you’ve had about her. Happily, I’ll dedicate a post to this little stuffed doll Ruby calls Dolly.

I don’t know how it goes around your home but here, our second born comes in second concerning mama-mades. While Ruby gets to play with and wear everything I made Margot, it is indeed different to give her something she gets to share.
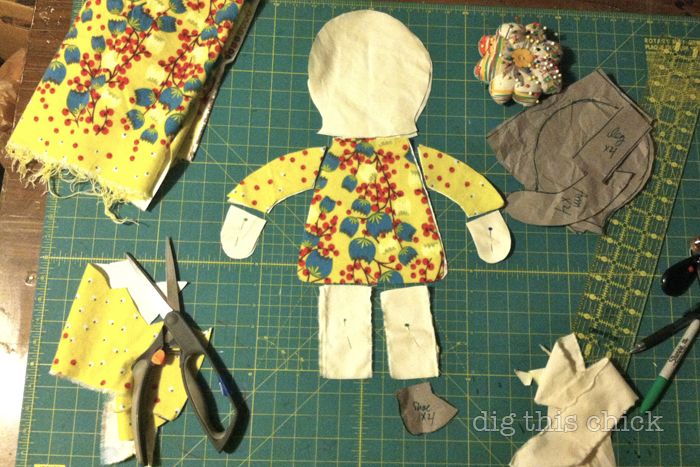
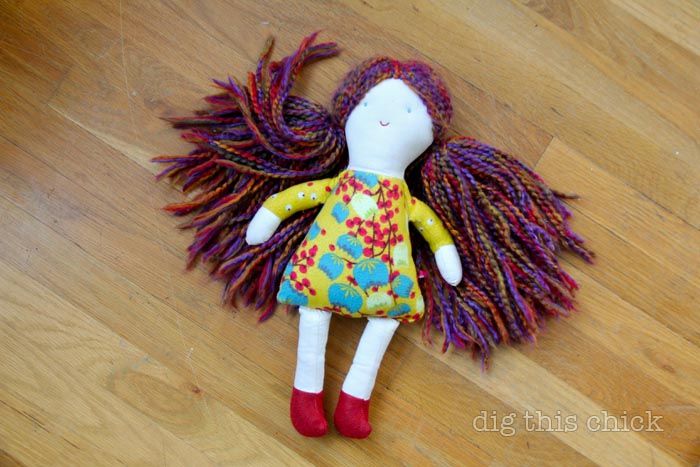
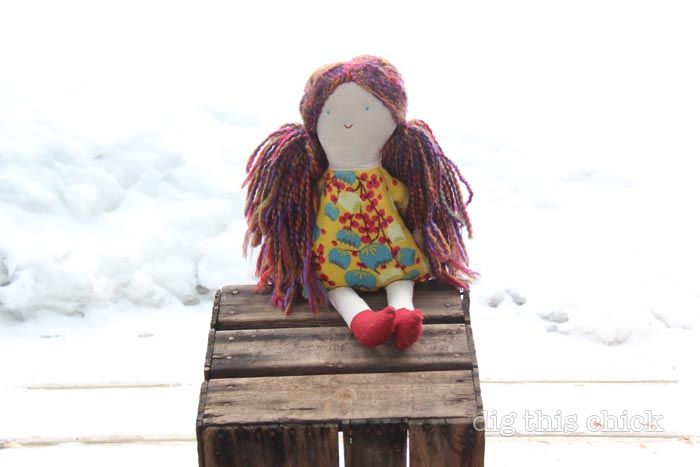
I used a tightly woven muslin for the head, hands and legs; wool felt for the shoes; flannel for the dress; embroidery floss for the face details; yarn for the hair; poly batting for stuffing.
I didn’t take process photos but will list my steps. I kind of suck at tutorials. If you’d like more detail or have questions, please ask in the comments and I’ll do my best to answer there!
CLICK HERE FOR A PRINTABLE PATTERN. It is scaled down to fit 8.5 x 11 so scale it up to your desired size.
- Cut out fabric pieces. Two each of head and body/dress. Four each of shoe, leg, arm and hand.
- Attach hands to arms and shoes to legs. With fabric right sides together, stitch along wrist of each arm-hand. You will have four. Then place the stitched arm-hand pieces right side together and stitch around, leaving armpit open. Turn. Do same for leg-shoe, leaving top of leg open.
- Stuff the arms and legs with batting
- With fabric right sides together, place one head piece with one dress piece, aligned at neck. Stitch along neck. Repeat for other dress-head.
- With one dress-head piece facing up, place arms and legs where you’d like them to be. Flip the appendages so they cross the fabric and pin and place. It will look like this: arms crossing in front and legs straight up in front of face. Stitch arms and legs in place.
- Place other head-dress piece atop so the right sides are together and the mess of legs and arms are on the inside. Pin the puhjesus out of the perimeter and stitch around, leaving an opening between the legs. Turn.
- Stuff the head-dress.
- Close the opening using a whip stitch.
- Embroider face from back of head using a long, sharp needle. Don’t pull too tight or the doll’s face will look sunken.
- Decide on hair length and double that measurement. Each strand of hair is one piece of yarn that travels from one end, up and over doll’s head to other end. Cut a ton of yarn to this length.
- To position hair, place doll face up and make a rainbow over her head with the pile of cut yarn. Take one long piece of cut yarn, tie a knot in the end and thread a needle. Make one big stitch from nape of neck (where bottom of hair part will be) to hairline. Pull tight and repeat the other direction. Make four stitches total and tie off at nape of neck. Your doll will now have a mess of loose hair with a center part.
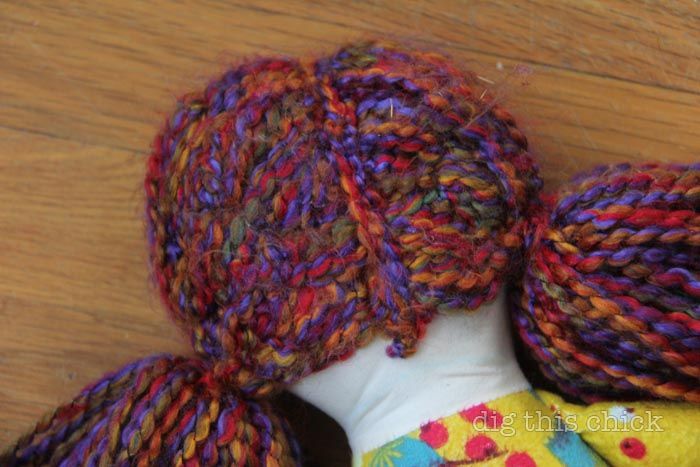
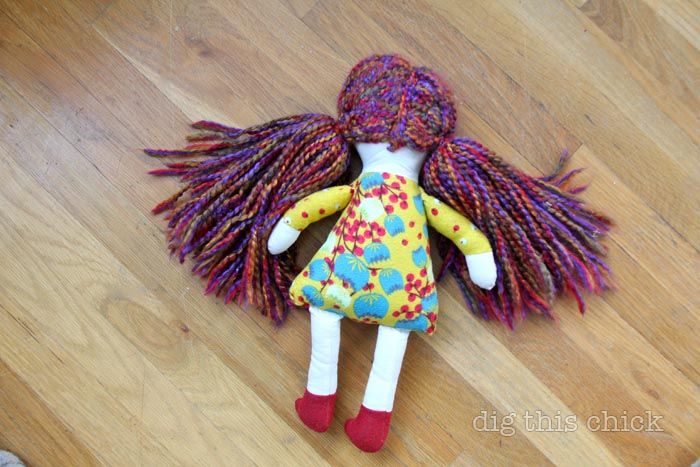
- Rake the yarn with fingers to position pigtails and, using same yarn, tie the pigtails super tight.
- Use similarly-colored embroidery thread and stitch rows and rows and rows of small stitches, running parallel to the part. I used dark brown floss. Pull the stitches tight and go over and under the hair strands. Your fingers will ache. This will conceal the stitches. Do the same at the pigtails, securing them tightly to the head.
- Trim pig tails.
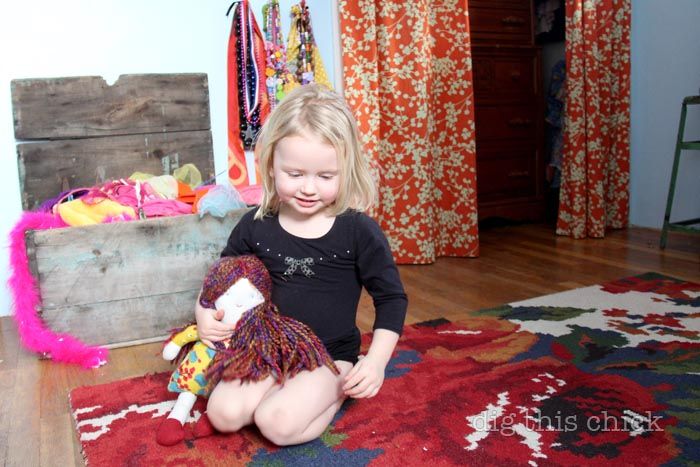
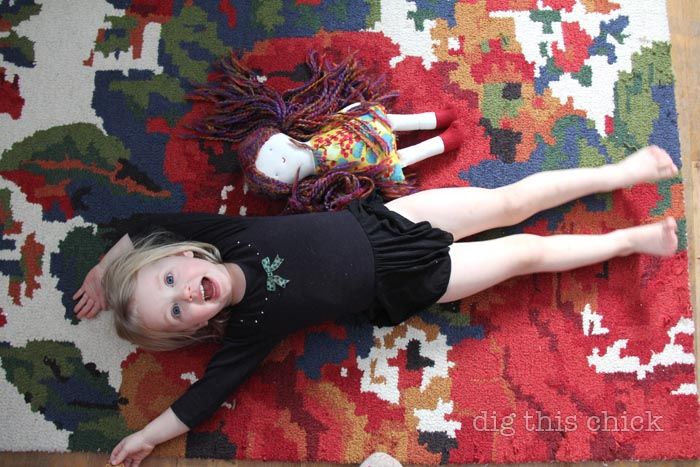
Her arms were a little too Keith Haring so I held them against the torso and added a few stitches. Because I don’t have pics, I asked Margot to demonstrate before and after:
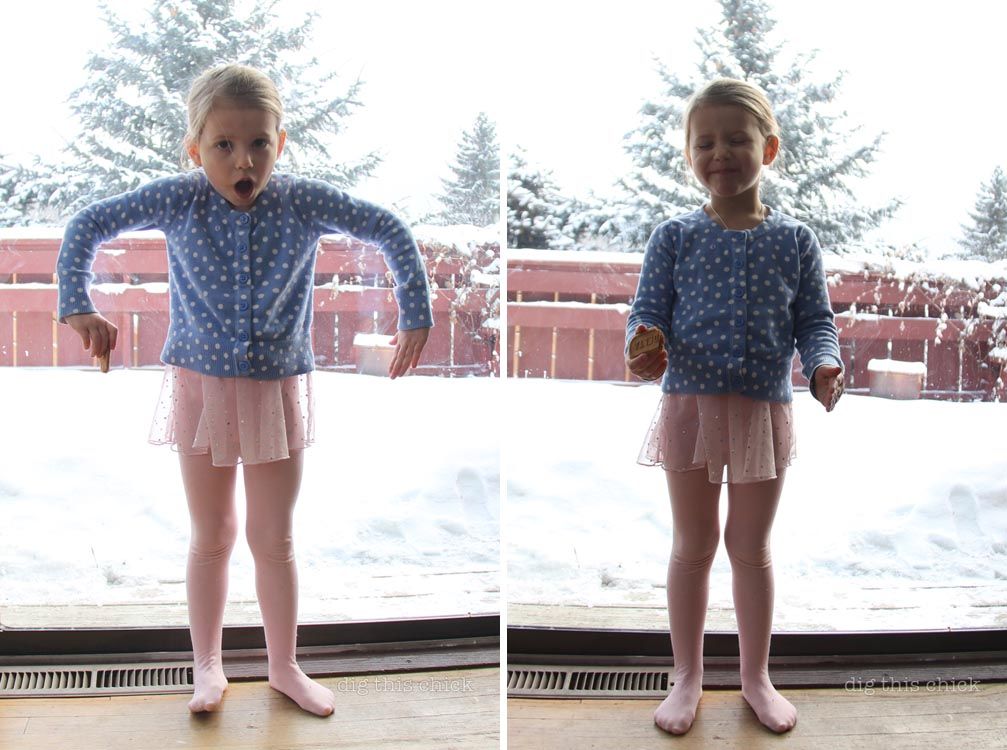
*this* is the plight of blogger’s child.
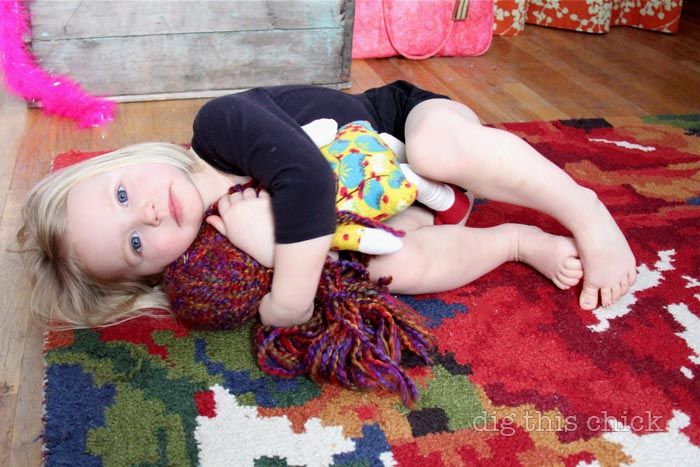
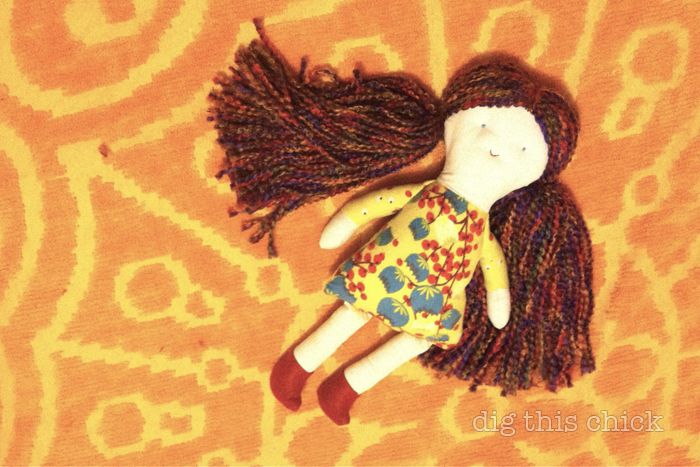
She really did shape up quickly and was a lot of fun to make. Although, not without hiccups, as is expected with my fly-by-the-seat-of-my-pants sewing. I had her completely finished and the night before we were to leave for our Thanksgiving-birthday cabin getaway, I redid her hair and her face. I KNOW. I had pulled the stitches in her face too taut and she looked geriatric. Also her head/torso needed more stuffing. See photo evidence:
My husband, his dad and stepmom assured me that I was the only one who would ever think such a thing but I wanted her the way I imagined and I will be looking at her for a long time and didn’t want to always think man, I wish…so I just grabbed a seam ripper and went to town.
I stared at the blank, hairless doll at 11pm and regretted my choice. But only for a bit. I poured a glass of wine, cranked some Kid Cudi and began. The second time was so much faster than the first and the improvement was well worth it. The one bummer being that the hair wasn’t as long or even (because the individual strand placement was different, of course).
The best part of all? Ruby’s love for this doll. A mama never really knows what a kid’s favorite toy will be and being that my kids often become attached to things like a heart-shaped rock or a pillowcase…anyway, Ruby loves Dolly. And I love that.