
So enough of you have asked that here I am doing a wee canning tutorial. And wow, it took a few weeks get it up…canning is a lot of work but then documenting the process is a beast unto itself. It really is easy I swear and not at all scary. Our country tends to be extra freaky about worst case scenario stuff and while botulism is real, it is rare if you preserve correctly. And it’s not hard to preserve correctly. So weeeeeeeee! here we go.
There are two main categories of canning: low acid and high acid. High acid foods (pH of 4.6 or less) include fruits, tomatoes, salsas, pickles, relishes, chutneys, etc. These foods contain enough acid where botulism spores cannot grow and they can be safely canned with the boiling-water canner. Low acid foods (more than 4.6) include unpickled veggies and meats. If you can low acid items, you need a pressure cooker to reach high temperatures and kill those nasty spores.
I am only going to talk about the canning of high acid foods in a boiling-water canner, using my peach butter recipe as my example.
Things you need:
Ball Blue Book of Preserving
canning tongs
regular ole tongs
boiling-water canner
soup pot
jars, rings and lids (jars and rings can totally be old. doesn’t matter a lick)
canning funnel (I lived without this for years until santa put one in my sock last year. Thanks, santa, for making this girl’s life way easier.)
ascorbic acid (vitamin c) to preserve color (optional)
clean dish towel
hot pad
teaspoon
immersion blender or blender or food processor
1.
Get good produce. The flavor will be much better with good food. I preserve local food either from my garden or a farmer. It’s been recently picked and not refrigerated and I get warm and fuzzy feeling about supporting my neighbors. If you must purchase produce from a non-local source, taste it and get delicious stuff that’s in season!

2.
Set aside a three hour chunk where you will have a clean kitchen and time to concentrate. You can multi-task later, when you are a canning expert. It’s not like it requires so much attention that you need to wait until your kids are napping (although, especially for the first time, it might be nice) but just don’t go starting this process while you are preparing dinner for 12 or you are tired or have a strict time line for when you must be done. Lots of swears is what you will likely wind up with.
You may also divide into two days with day one involving fruit preparation and day two involving the canning. This is nice. You could do steps 3-4 one afternoon, enjoy a martini and 5-8 the following morning.
3.
Prepare your fruit. Look at the Ball Book for what to do, the instructions in there are super simple and easy. For example, with peaches, they need to be blanched, peeled and pitted. My set up for this involves: a soup pot on the stove with about three-four inches of boiling water; a big bowl half-full of ice water; another big bowl 3/4 full of cold water with a teaspoon of ascorbic acid mixed in.
I place about six peaches in the boiling water for about 45 seconds and then remove with kitchen tongs and place in ice water bowl. The goal here is to cook just the skin do it is loosened over the still-firm peach flesh and then it just flies off the fruit. Using a sharp little knife, I peel the fruit. It comes off in a snap, often just using my thumb.
Then, halve the peaches, pitch the pit and place perfect peach halves in the ascorbic acid water. Keep it up until you are all done!
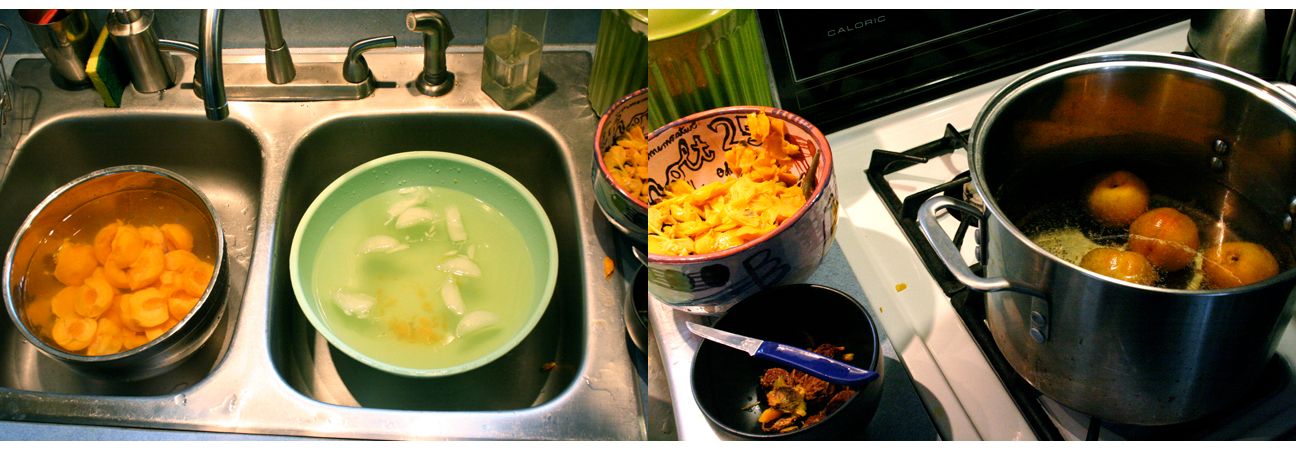
left to right: cool water with ascorbic acid, ice water, bowls for pits and skins (chickens love the skins!), boiling water
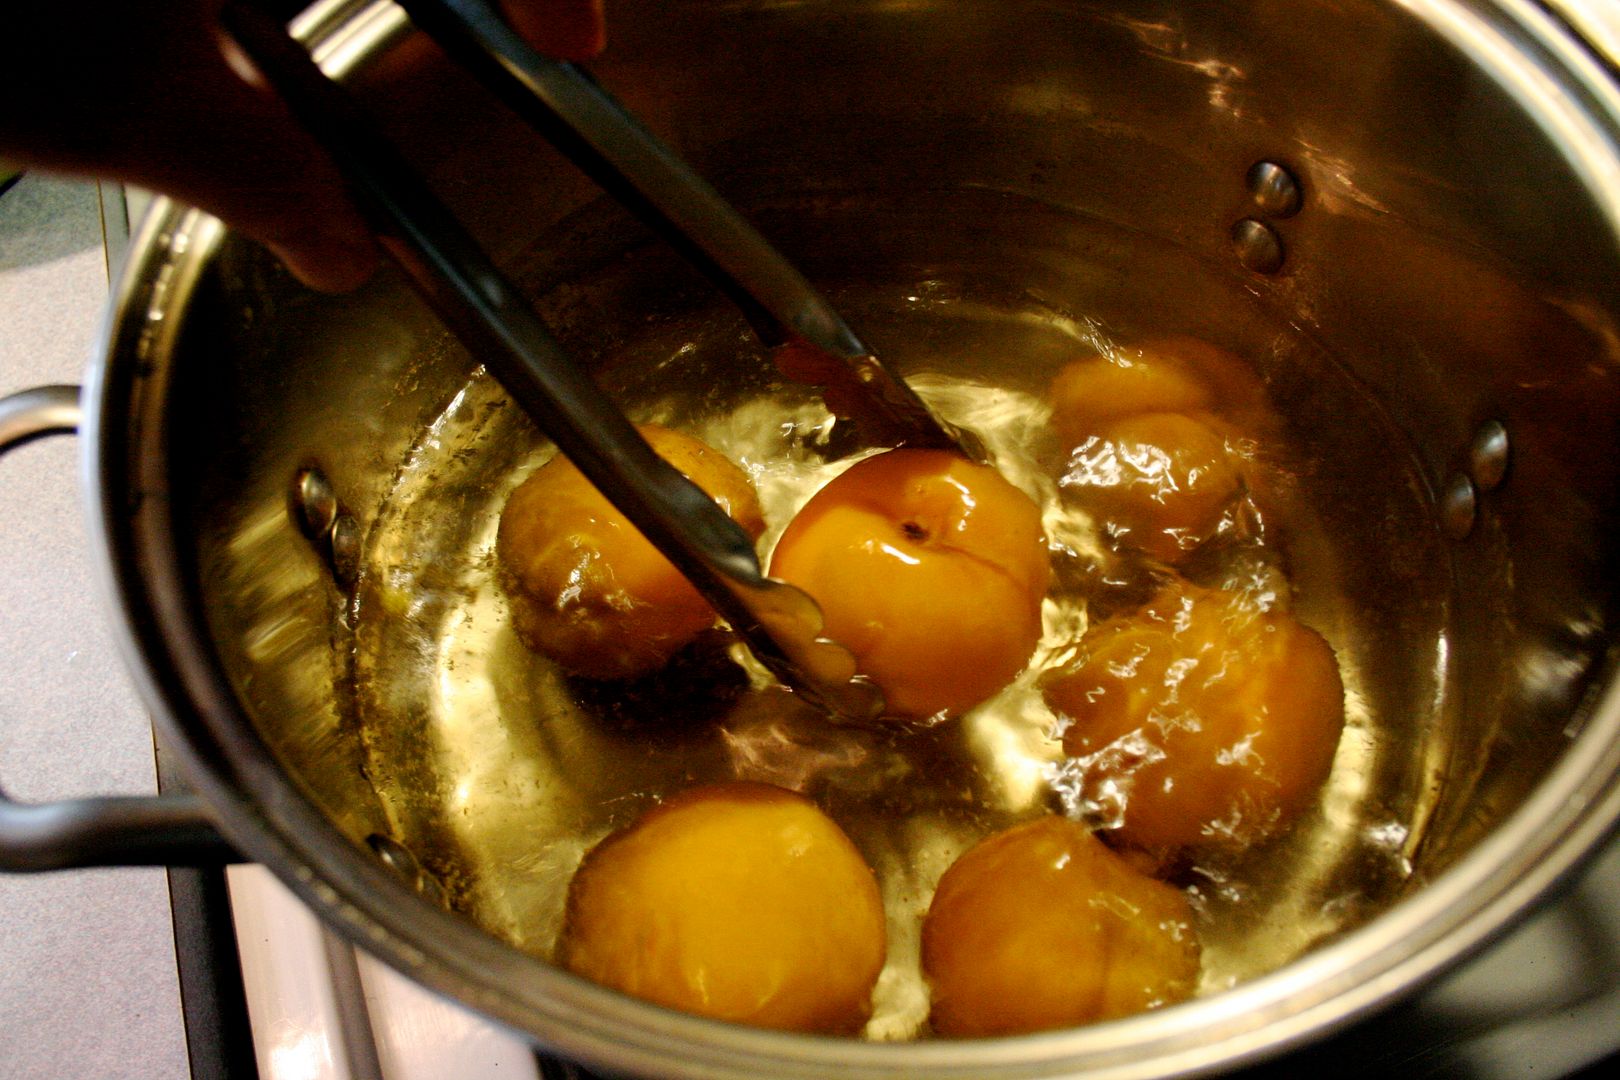
peaches boiled for a minute (blanched) and then removed with tongs
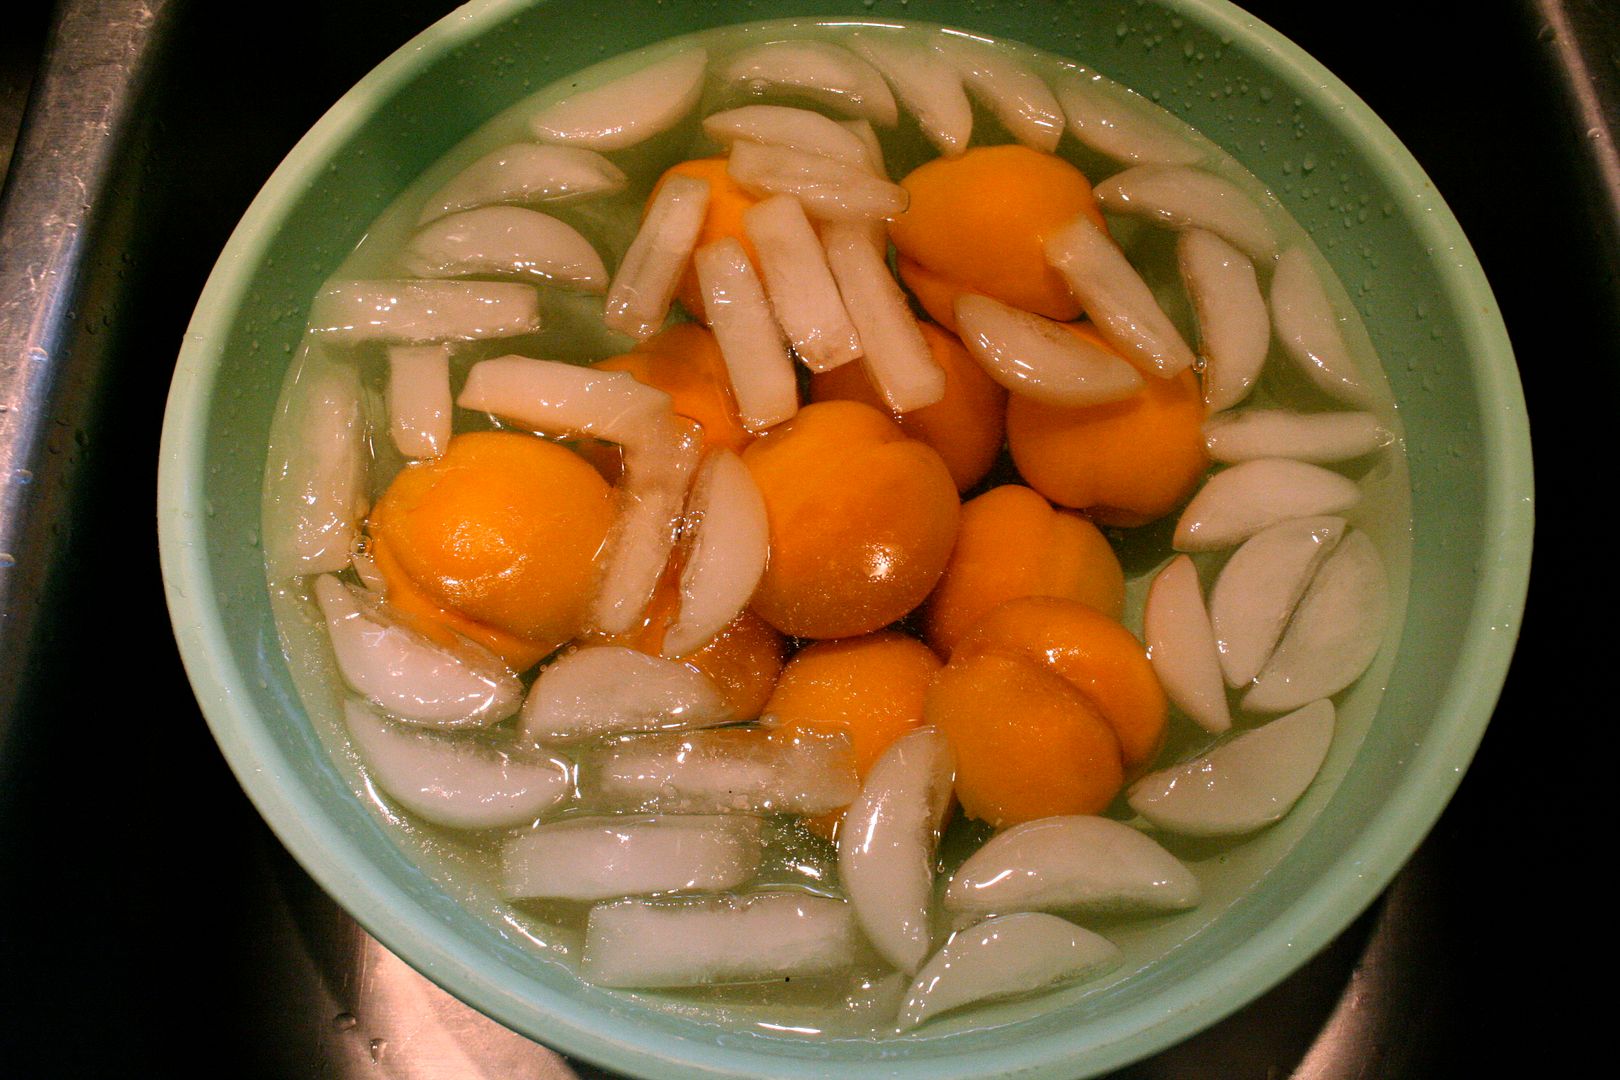
and then placed in ice water bath

and then peeled, halved and pits removed

and then placed in ascorbic acid-water mixture
4.
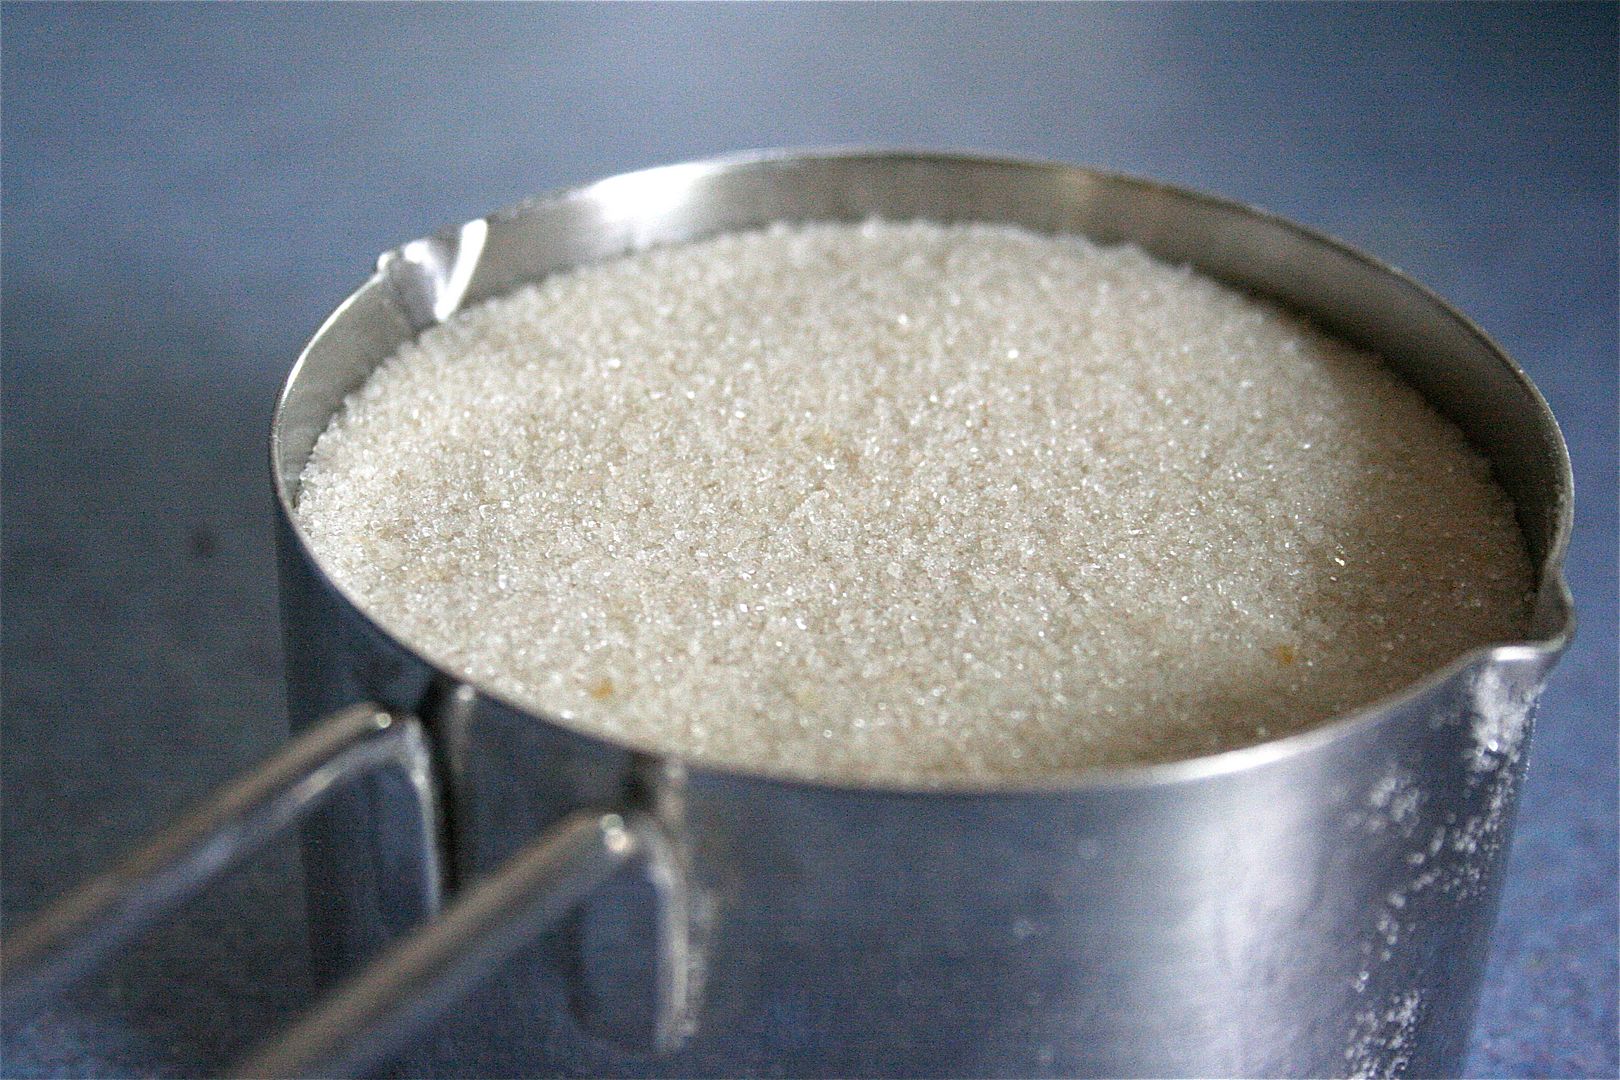
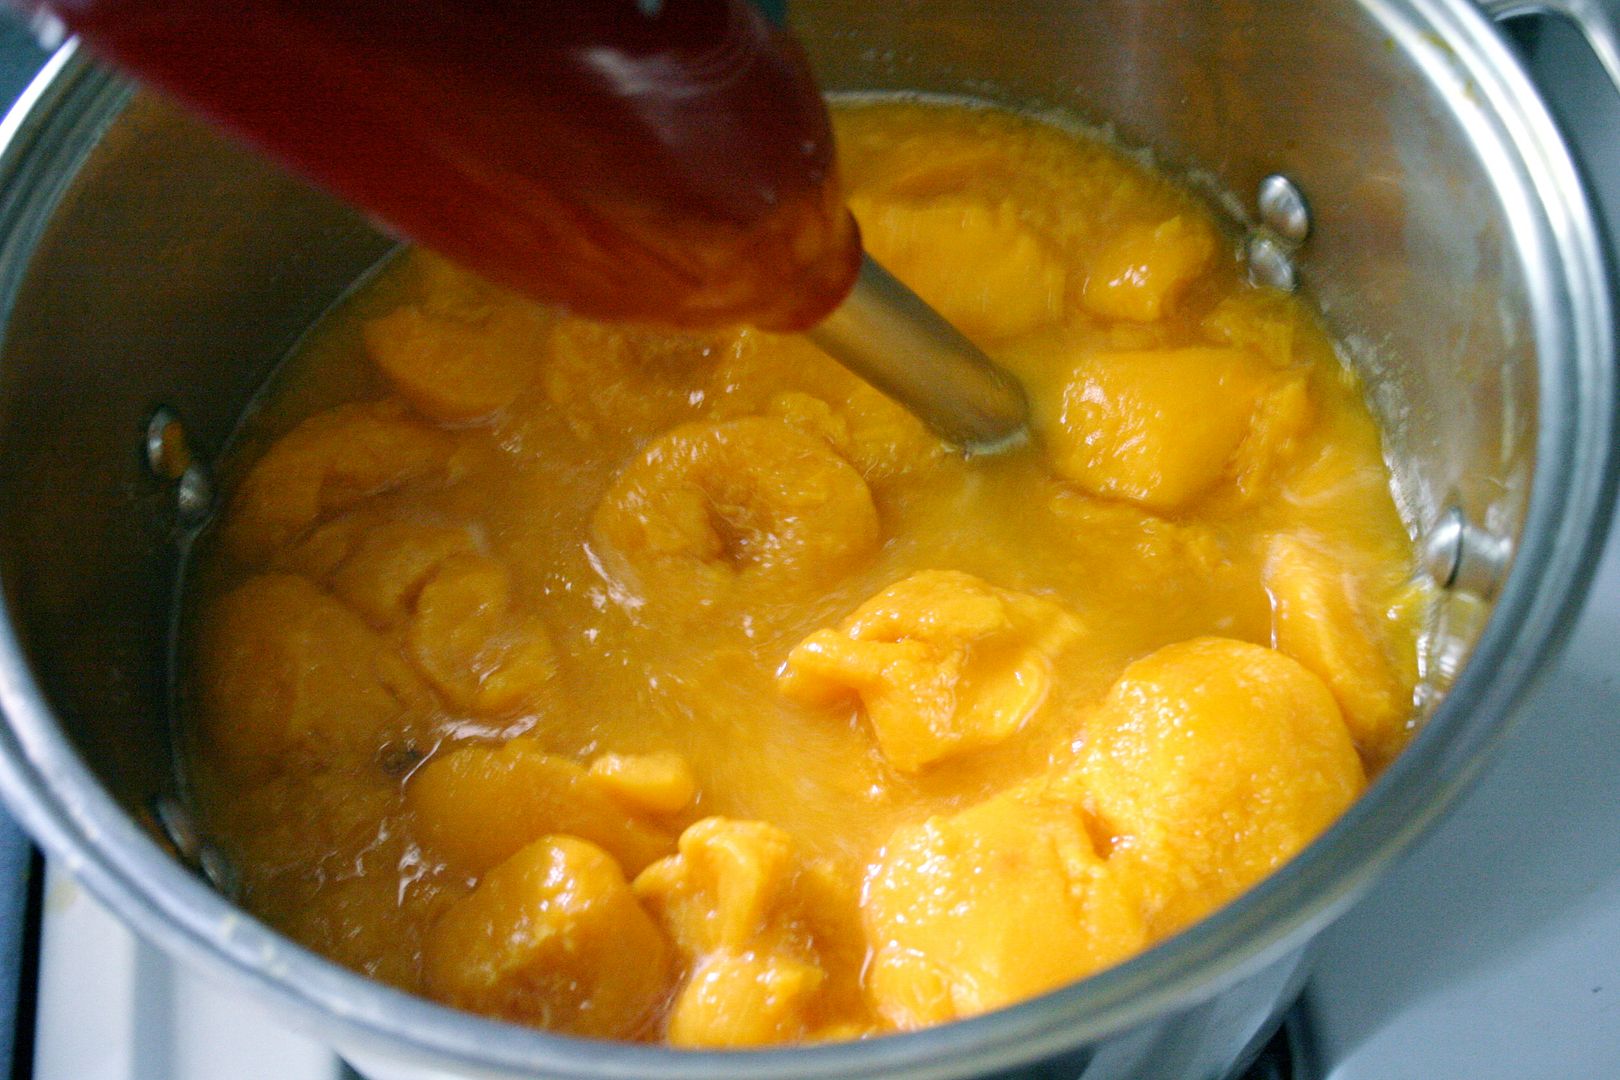
Strain the prepared fruit and place in soup pot and cook on low, stirring pretty regularly. For the peach butter, I cook until the peaches have softened a bit and then I puree with an immersion blender. Add sugar, spices etc. One large soup pot will hold 20 pounds of peaches and I add two cups of sugar. I cook until thick and mounds up on a teaspoon. It takes about a two hours. Remember, when your food cools, it will be less runny than when hot. One way to test the mounding-ness on a spoon is to place a spoonful in the freezer for a minute.
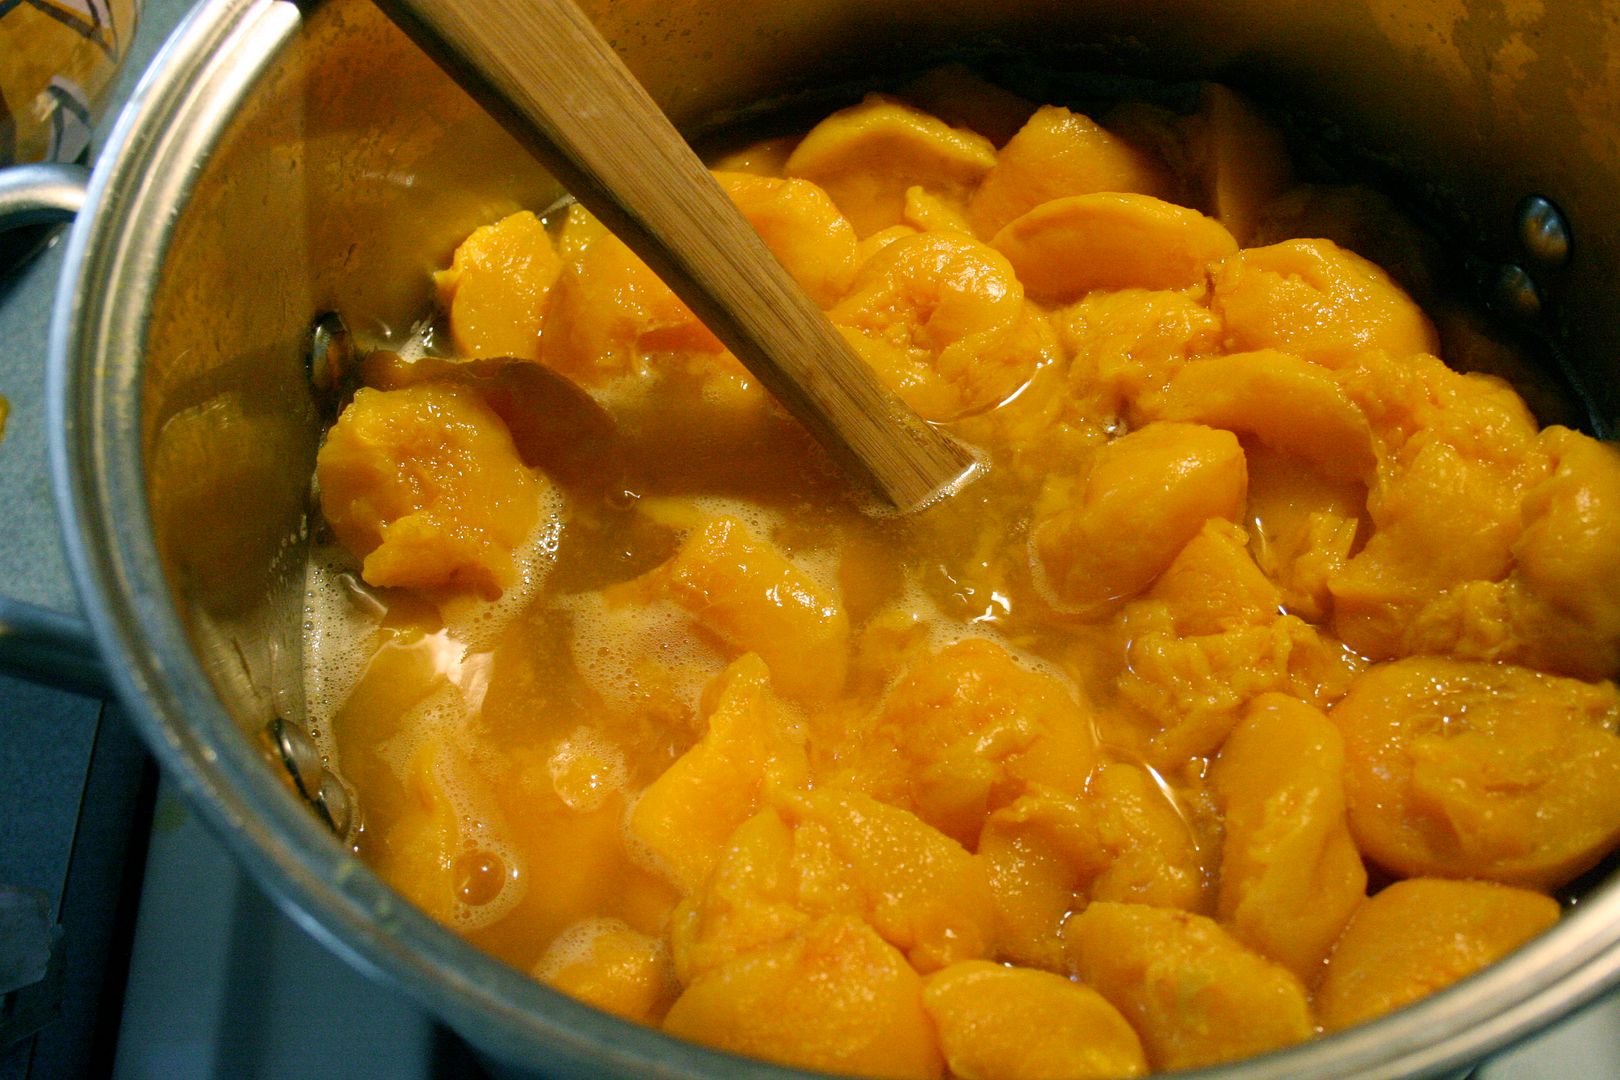
the water seen in this photo is the peach juice that we will cook off, not the water the peach halves were soaking in (that was strained off before placing in pot)

I find it easiest to have the jars on the right burner and the fruit on the left burner. My counter is on the left as well.
5.
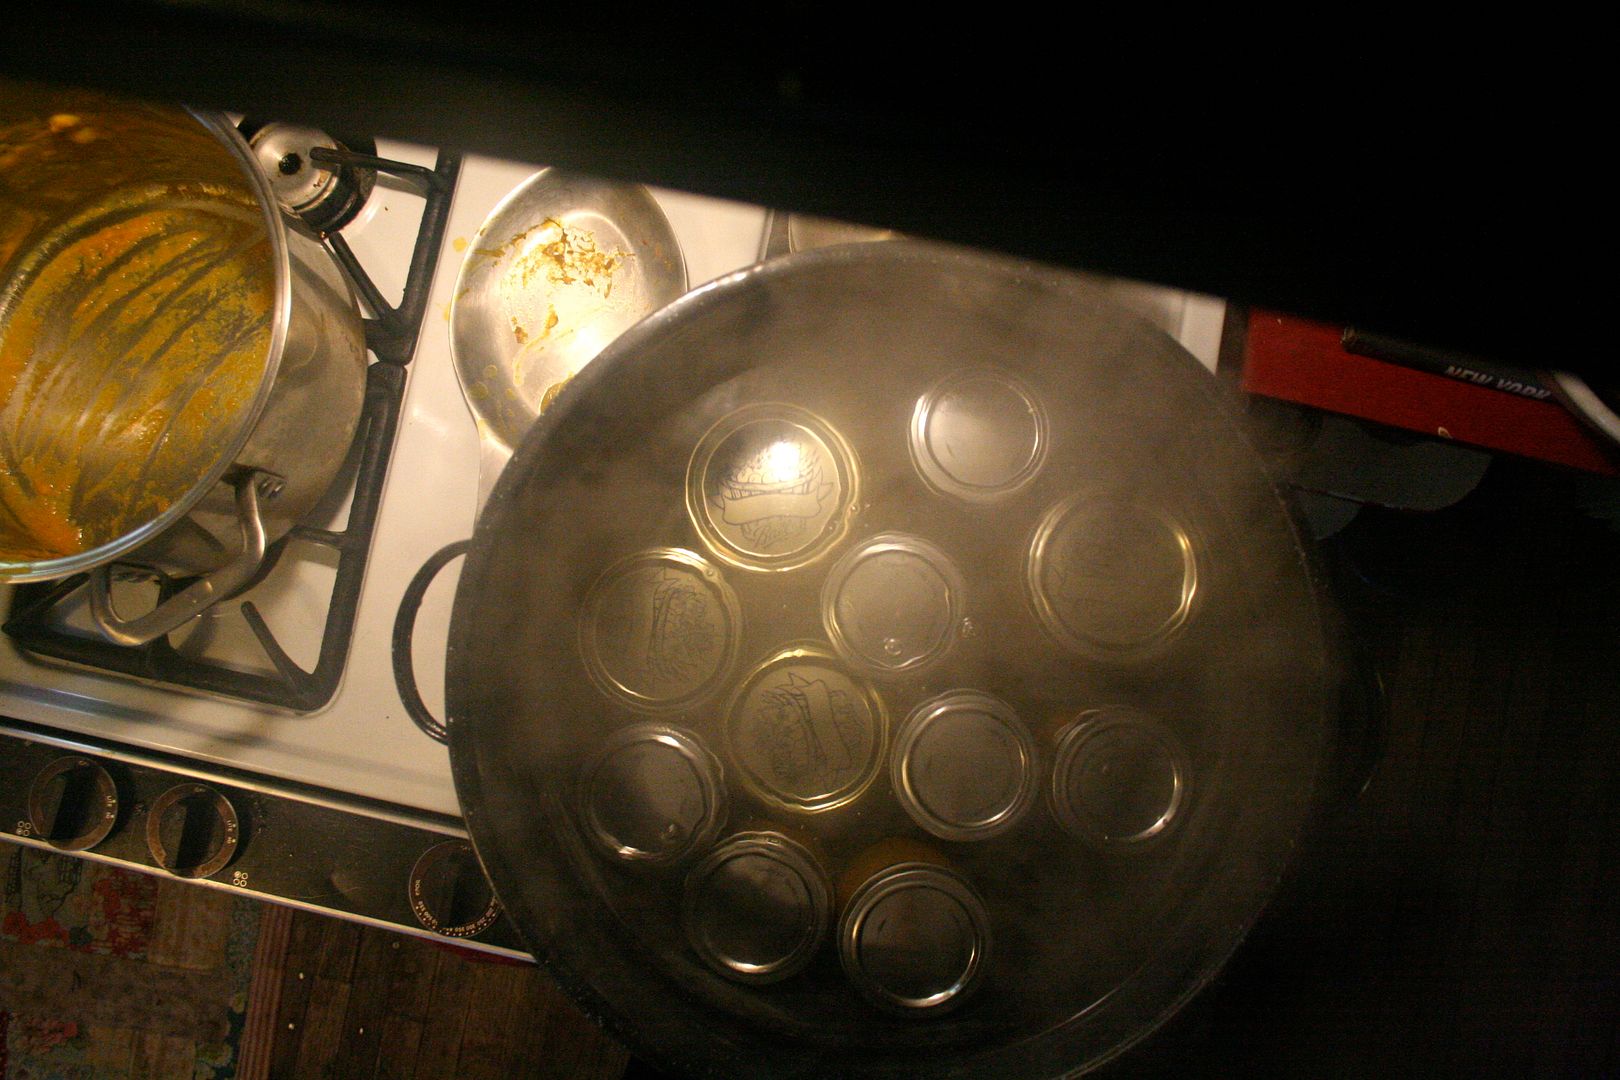
About 15 minutes before the fruit is finished, fill the boiling-water canner with jars, lids and rings and enough water to cover your jars with one-two inches of water. Bring to a boil. When boiling, turn heat off and gather both sets of tongs, ladle, funnel, towel and hot pad.

jars, lids and rings in boiling-water canner
6.
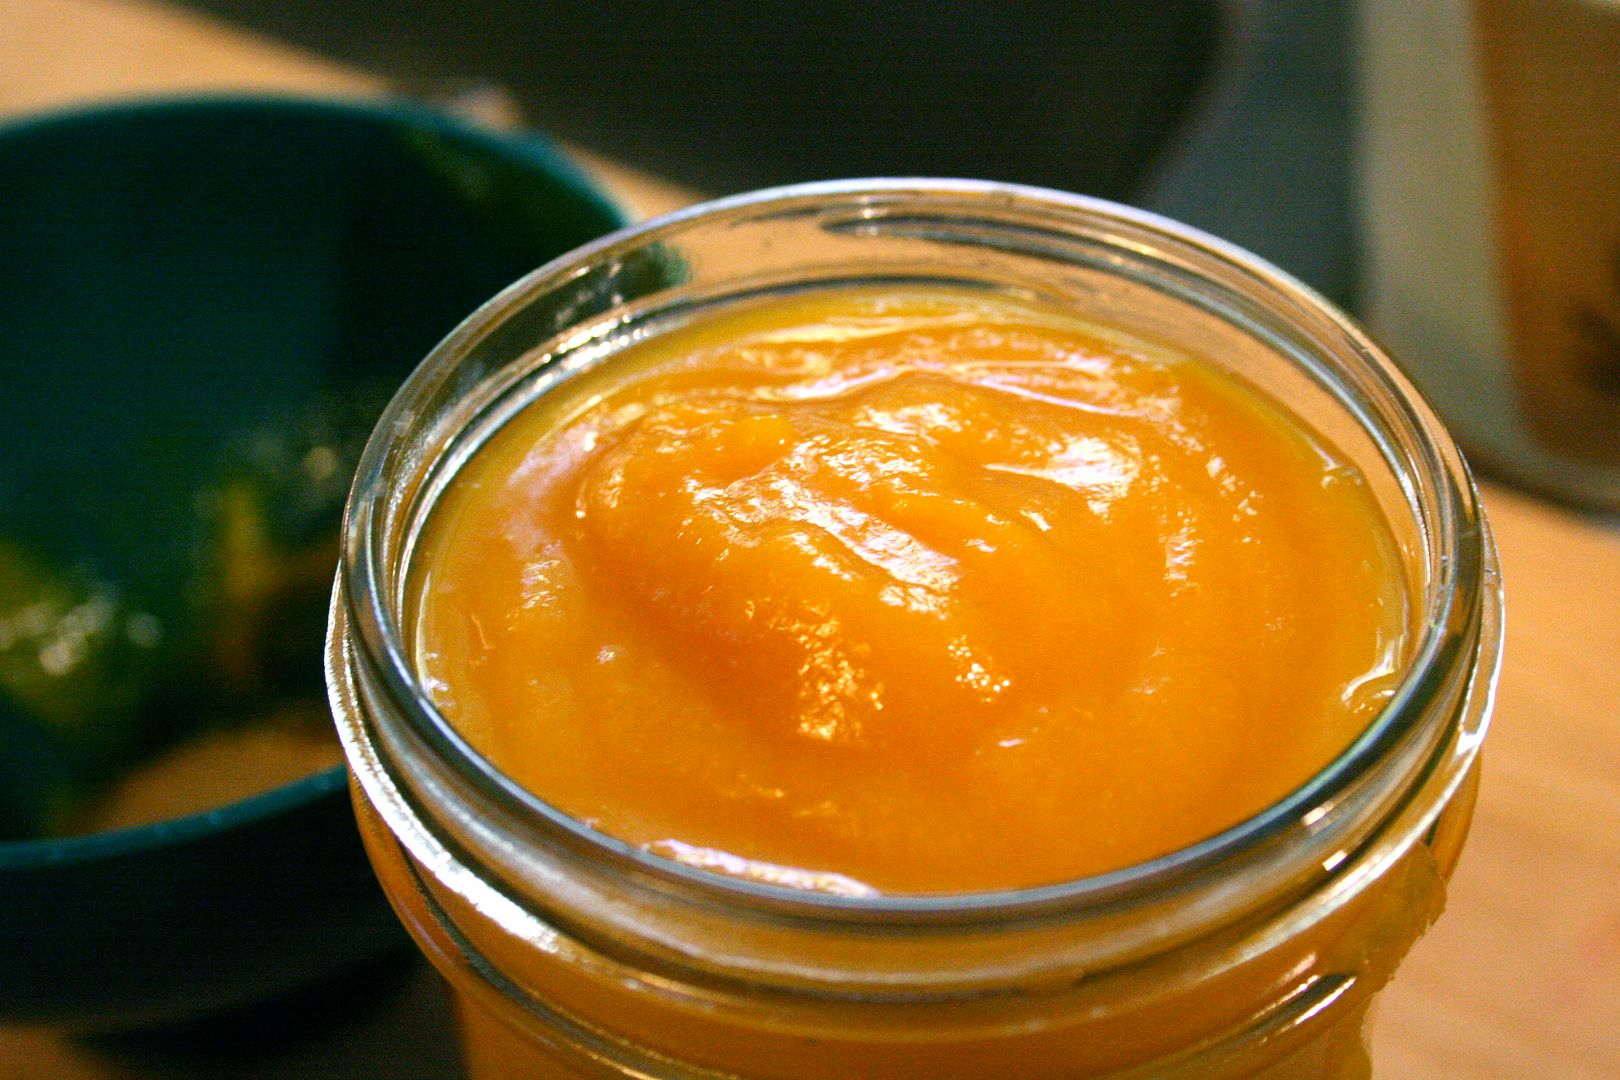
Remove a jar from hot water with canning tongs and place on counter next to pot of fruit with the funnel in place. Ladle out the hot fruit into the hot jar leaving appropriate head space. For my butter, it is 1/4 inch which is pretty standard for jams, butters, jellies and whatnot. The recipe you use will tell you how much space to leave.

remove jar from hot water, place funnel and ladle in hot butter
1/4″ head space

remove a lid and ring with tongs and tighten on jar
Be sure the rim of jar is squeaky clean. Wipe with damp towel if necessary. Remove a ring and lid with regular tongs, place on jar and tighten. This is when you will need to hot pad cause the jar will be too hot to grab onto. Set aside and repeat.
7.
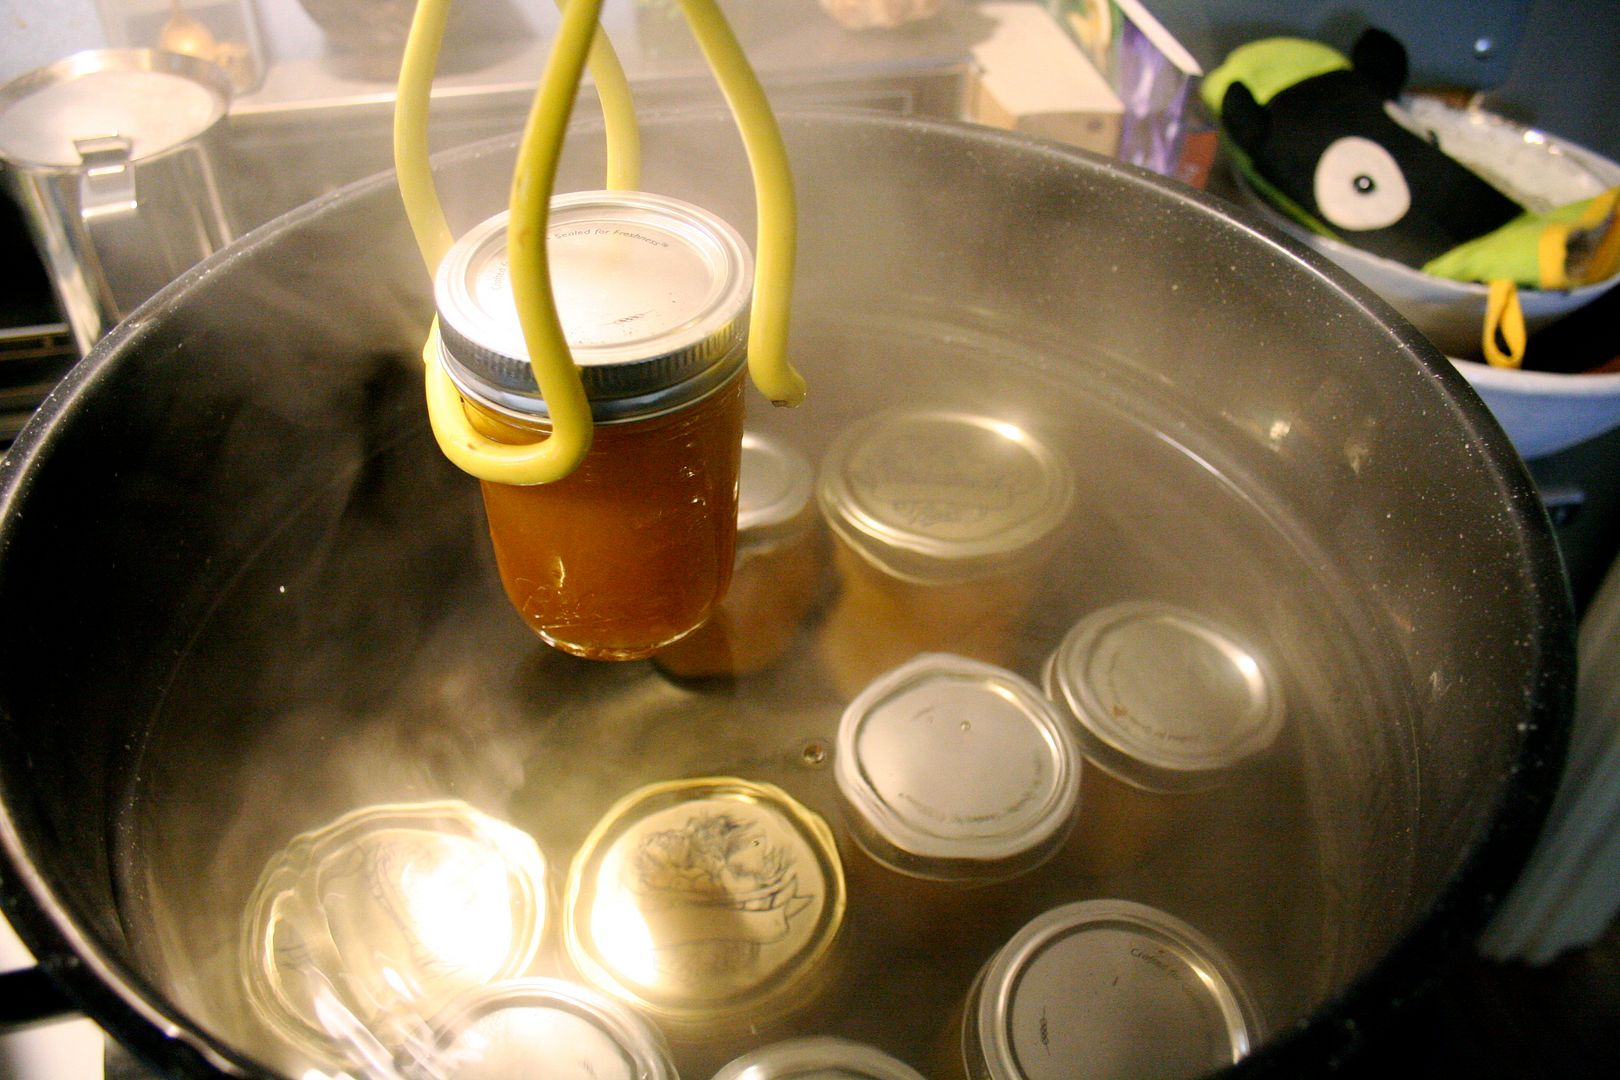
When finished filling jars, return boiling-water canner water to a boil. Carefully add jars full of bounty to pot using the canning tongs. I don’t use a rack even though I think you are supposed to. I just put my jars into the boiling-water canner and have never had a problem. Don’t stack your jars. You might have to do a few batches.

I usually take all the photos myself, often balancing my camera on a pile of corn or something and then running into place. But many of these were taken by my lovely husband.
Boil for the amount of time the recipe calls for. For my peach butter, it is 10 minutes but I have to increase the cook time because of the elevation in Montana. I cook for 20 minutes. Here is a guide for cook time using a boiling-water canner:
1001-3000 ft, increase cook time 5 mins
3001-6000 ft, increase cook time 10 mins
6001-8000 ft, increase cook time 15 mins
8001-10000ft, increase cook time 20 mins
8.
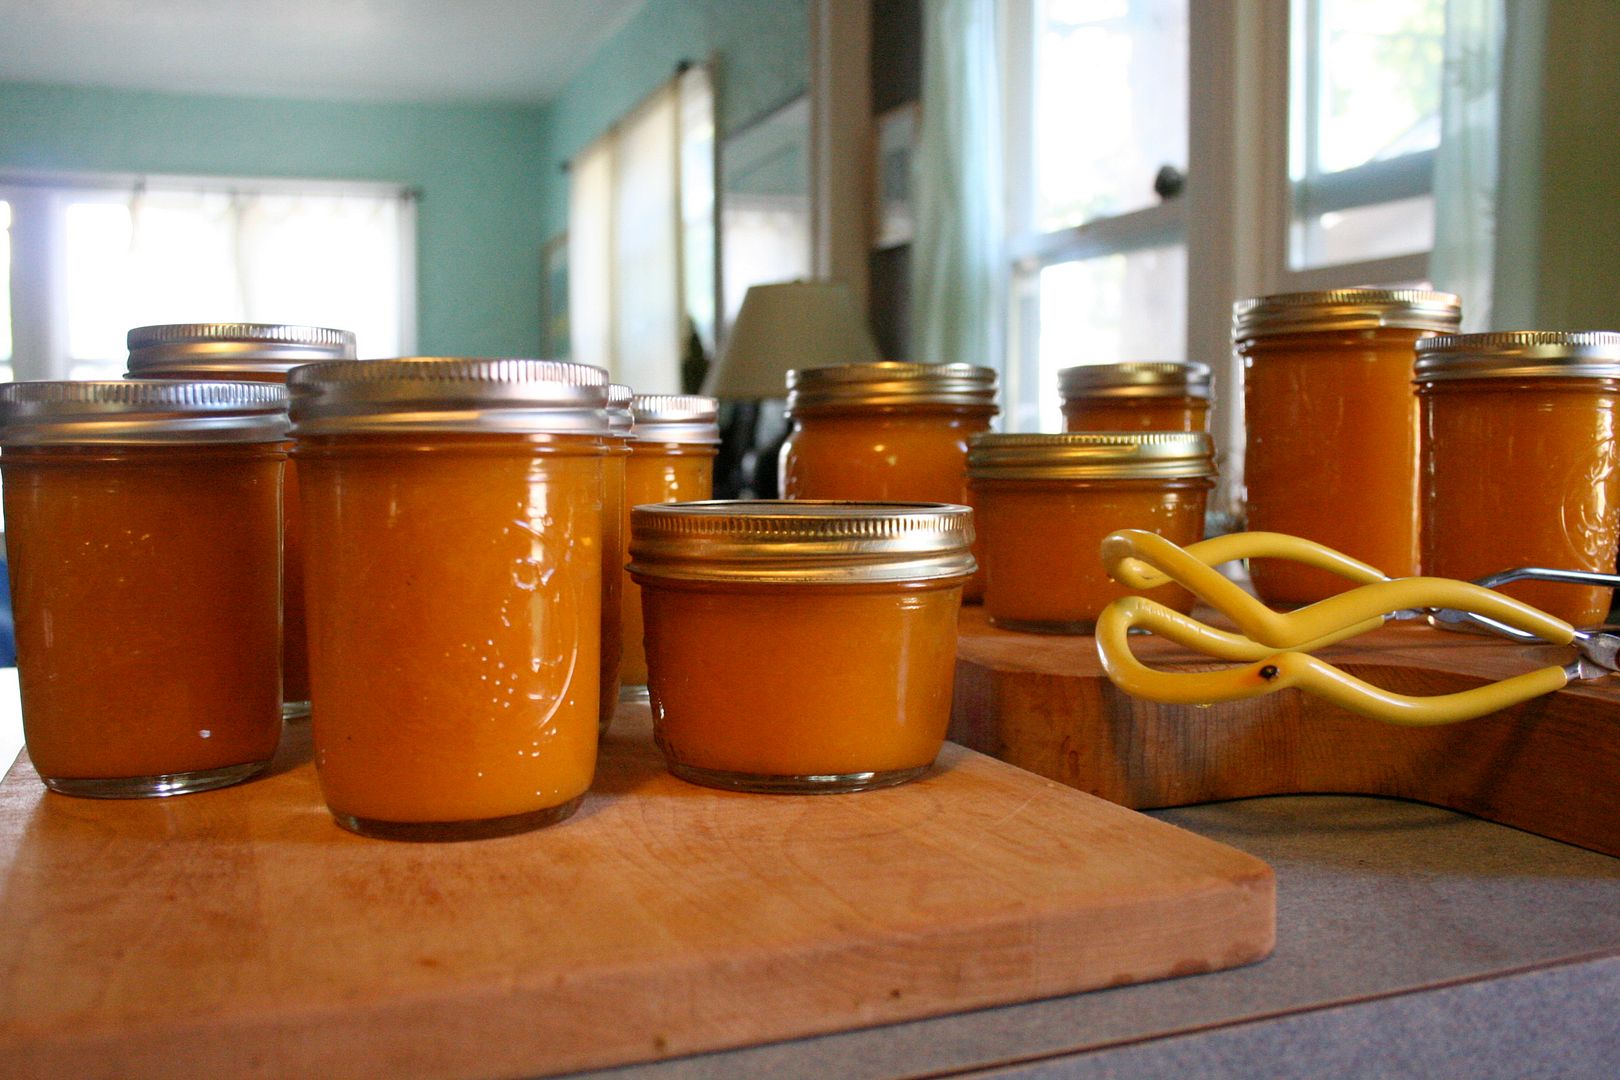
Remove from boiling-water canner and set somewhere that can handle a very hot object. Leave undisturbed overnight. You will hear the pingy pops of the jars sealing and grin with giddiness.
9.
Label and date. I always think I’ll remember and I never do. Canned food is best when used in one year but it is a myth that it ‘goes bad’ at that time. The quality just weakens. Some tips for storage and consumption from this site:
- Store them in a cool, clean dry place where temperatures are below 85 degrees. A range of 60-70 degrees is even better.
- Low-acid canned foods may be stored in a cupboard for as long as two to five years. For top quality use before one year.
- Use high-acid foods within 12 to 18 months. Foods stored longer will still be safe to eat if the cans show no signs of spoilage or damage,but the foods may have deteriorated in color, flavor and nutritive value.
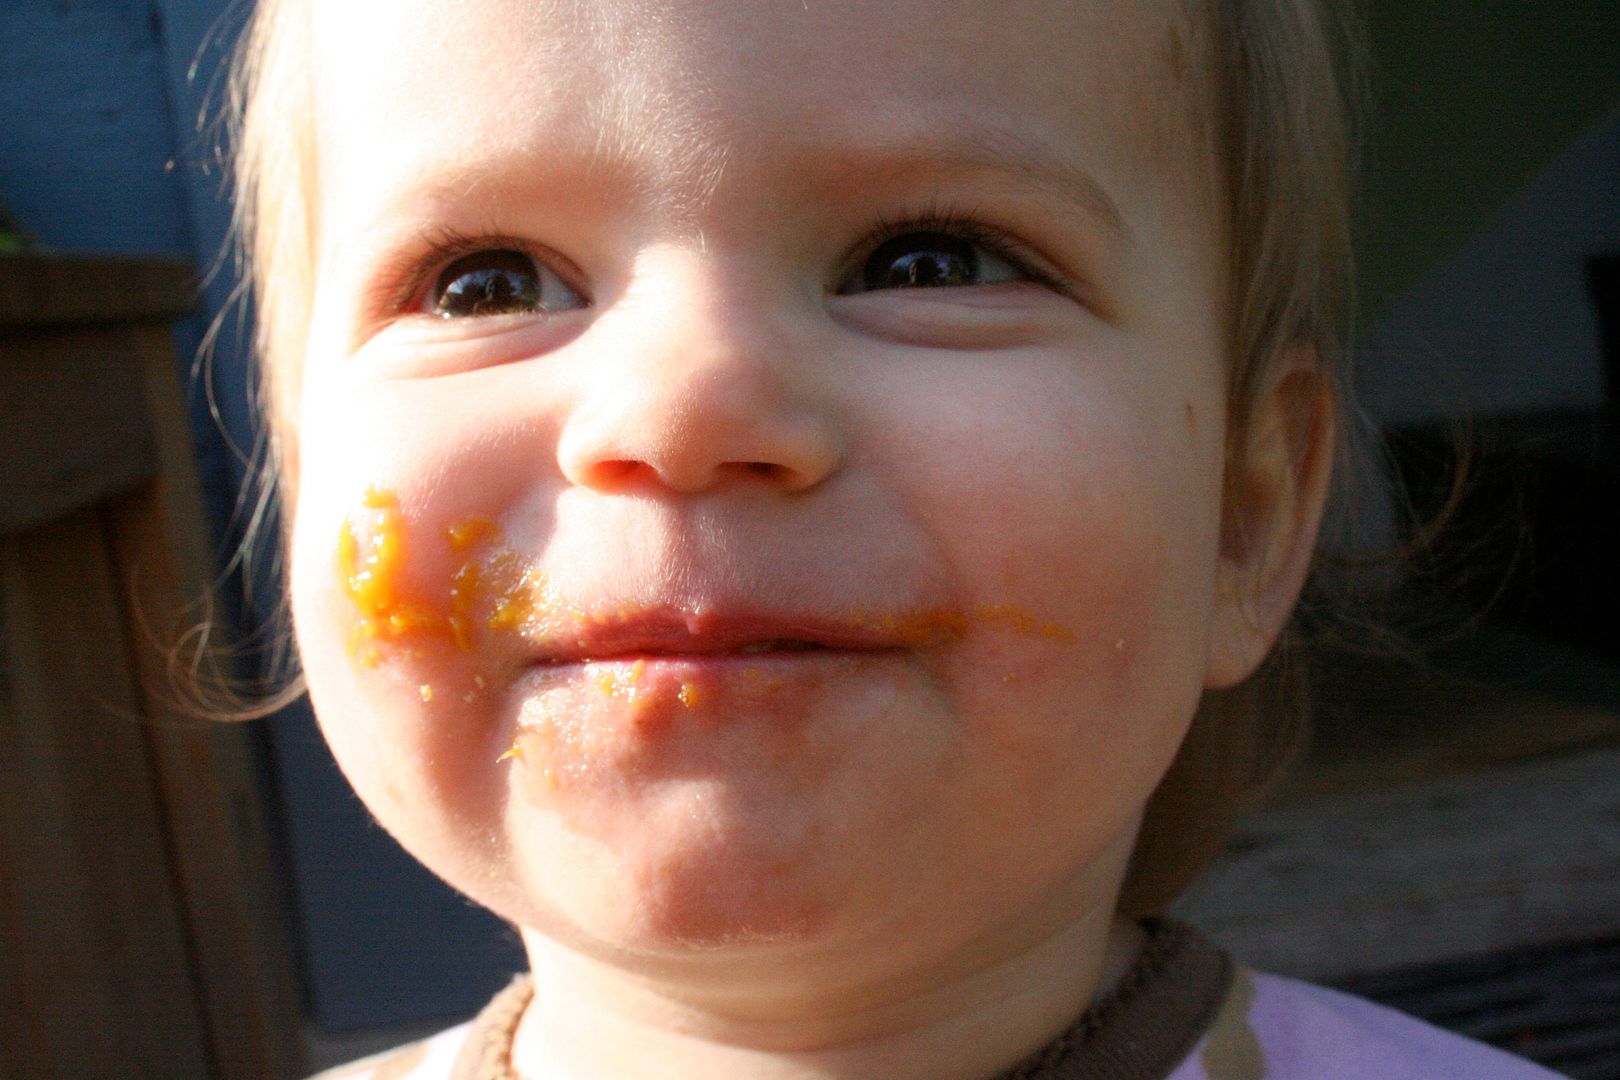
It is seriously so so easy and satisfying. Do it!


